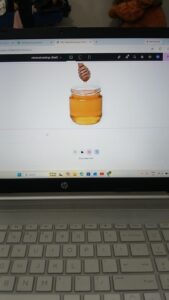
- Aaj maine Elementor me Image widget aur uski advanced settings ko detail me explore kiya. Ye settings website design ko visually attractive banane me help karti hain.
🔹 1. Image Alignment
Is option se hum image ki position set karte hain:
Left
Center
Right
👉 Iska use layout ke according hota hai, jaise text ke side me image align karna.
🔹 2. Width & Max Width
Width (%): Image kitni space le
Max Width: Maximum size limit set karta hai
👉 Example: 100% width dene se image full container me fit ho jati hai
🔹 3. Height
Isse image ki height control hoti hai (px me)
👉 Dhyan rakho: zyada height dene se image stretch ho sakti hai
🔹 4. Normal & Hover Effect
Normal: Default image view
Hover: Jab mouse le jate hain tab effect apply hota hai
👉 Isse interactive design banta hai
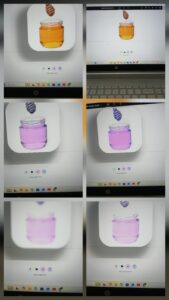
🔹 5. Opacity
Isse image ki transparency control hoti hai
100% = full visible
50% = light transparent
👉 Background image ke liye useful hai
🔹 6. CSS Filters
Is option se image ko stylish bana sakte hain:
Blur
Brightness
Contrast
Saturation
👉 Isse simple image bhi creative lagti hai
🔹 7. Border Type
Image ke around border add kar sakte hain:
Solid
Dashed
Double
👉 Border use karke image highlight hoti hai
🔹 8. Border Radius (Rounded Corners)
Isse image ke corners round ho jate hain
👉 Example: 20px dene se smooth rounded image milti hai
🔹 9. Box Shadow
Shadow add karne se image thodi uthi hui (3D effect) lagti hai
👉 Light shadow use karne se professional look aata hai
🔹 Mera Practical Experience:
Aaj maine ek section me image add karke:
Border radius use kiya
Shadow add kiya
Hover effect apply kiya
👉 Isse simple image bhi attractive ban gayi
🔹 Challenges:
Width & height balance karna
Hover effect smooth banana
🔹 Aaj kya improve hua:
Image styling ka concept clear hua
Design aur clean aur modern lagne laga
🔹 Next Goal:Kal main try karungi ki image + text ka proper responsive section banaun
💡 Final Thought:
Image settings small lagti hain, lekin ye hi cheezein website ko professional aur visually appealing banati hain.
WordPress Elementor Freelancer

Shopping Cart