
Introduction
Agar aap apni WordPress website ko zyada professional aur trustworthy banana chahte ho, toh testimonial section add karna bahut important hota hai. Testimonials visitors ko batate hain ki dusre users ya clients ka experience aapke business ya service ke sath kaisa raha.
Is blog me hum step-by-step dekhenge ki Elementor me easily testimonial section kaise create karte hain — beginner friendly Hinglish language me.
Why Testimonial Section Important Hai?
Testimonial section website ki credibility increase karta hai.
Benefits:
Trust build hota hai
Website professional lagti hai
Conversion improve hoti hai
Clients ka confidence increase hota hai
Services ya products zyada authentic lagte hain
Elementor Me Testimonial Section Banane Ke Liye Kya Chahiye?
Required Things:
WordPress Website
Elementor Plugin Installed
Basic Elementor Knowledge
Client Reviews ya Demo Content
Step 1: Open Your Page in Elementor
Sabse pehle:
WordPress Dashboard open karo
Pages → Existing Page ya New Page select karo
“Edit with Elementor” par click karo
Ab Elementor editor open ho jayega.
Step 2: Add a New Section / Container
Ab:
“+” icon par click karo
1-column ya 3-column layout choose karo
Agar aap modern layout use kar rahe ho toh Container bhi use kar sakte ho
Pro Tip:
3-column testimonial layout zyada professional dikhta hai.
Step 3: Add Heading
Ab ek heading add karo.
Example Headings:
What Our Clients Say
Client Testimonials
Happy Customer Reviews
Trusted by Our Clients
Styling Tips:
Font size: 32px–40px
Bold typography use karo
Center align rakho
Step 4: Drag “Testimonial” Widget
Elementor sidebar me search karo:
“Testimonial”
Ab widget ko drag and drop karo section ke andar.
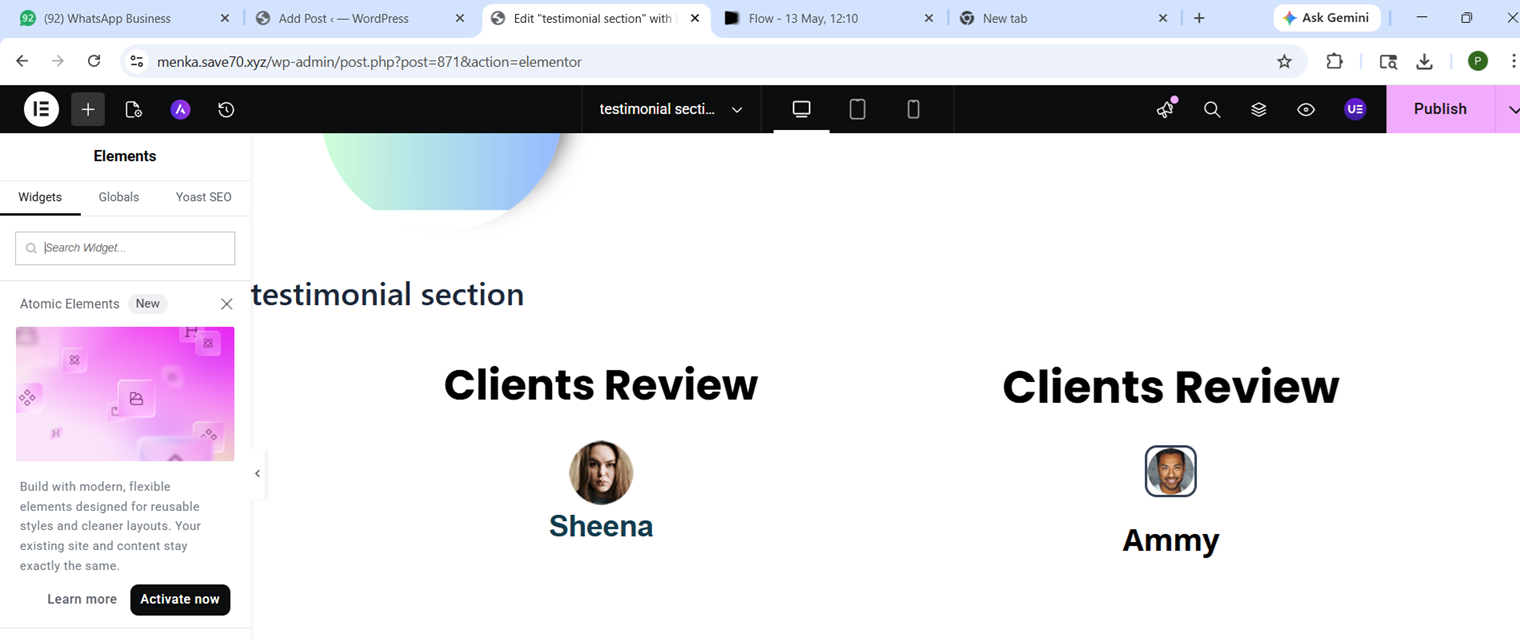
Step 5: Add Client Details
Ab testimonial content fill karo:
Add:
Client Name
Client Image
Designation
Review Text
Example:
“Elementor ki help se maine easily professional website create ki. Process bahut smooth tha.”
Step 6: Customize Testimonial Design
Ab design ko attractive banao.
Customize These Things:
Background Color
Padding & Margin
Border Radius
Box Shadow
Typography
Star Rating
Recommended Style:
White background
Soft shadow
Rounded corners
Clean spacing
Professional look instantly improve hota hai.
Step 7: Duplicate Testimonials
Agar multiple reviews add karne hain:
Right click widget
Duplicate option select karo
Ab content change karte jao.
Step 8: Make It Responsive
Responsive mode open karo:
Tablet View check karo
Mobile View check karo
Ensure:
Text properly visible ho
Spacing correct ho
Images distorted na ho
Mobile optimization bahut important hai.
Step 9: Add Hover Effects (Optional)
Professional touch ke liye:
Hover Effects:
Slight zoom
Shadow increase
Background color change
Ye design ko modern banata hai.
Step 10: Publish the Page
Sab customize karne ke baad:
“Publish” button par click karo
Website preview check karo
Aapka testimonial section successfully ready hai 🎉
Best Testimonial Design Tips
1. Real Images Use Karo
Fake images avoid karo.
2. Short Reviews Better Hote Hain
2–4 lines enough hoti hain.
3. Consistent Design Rakho
Sab testimonial cards same style me rakho.
4. White Space Important Hai
Overcrowded design avoid karo.
Common Mistakes Beginners Karte Hain
Avoid These:
Bahut long reviews
Random fonts
Poor spacing
Low quality images
Mobile responsiveness ignore karna
Conclusion
Elementor me testimonial section create karna beginner-friendly aur simple process hai. Ek clean aur professional testimonial section website ki trust value aur overall design dono improve karta hai.
Agar aap freelance services, business website, portfolio ya agency website bana rahe ho, toh testimonial section definitely add karna chahiye.