
🧩 Introduction
Elementor WordPress ka ek popular page builder hai jisme aap easily beautiful websites design kar sakte ho. Buttons website ka important part hote hain kyunki ye users ko action lene ke liye guide karte hain (like “Buy Now”, “Contact Us”, “Learn More”).
Is blog me aap step-by-step seekhoge ki Elementor me button kaise add karte hain aur usko customize kaise karte hain.
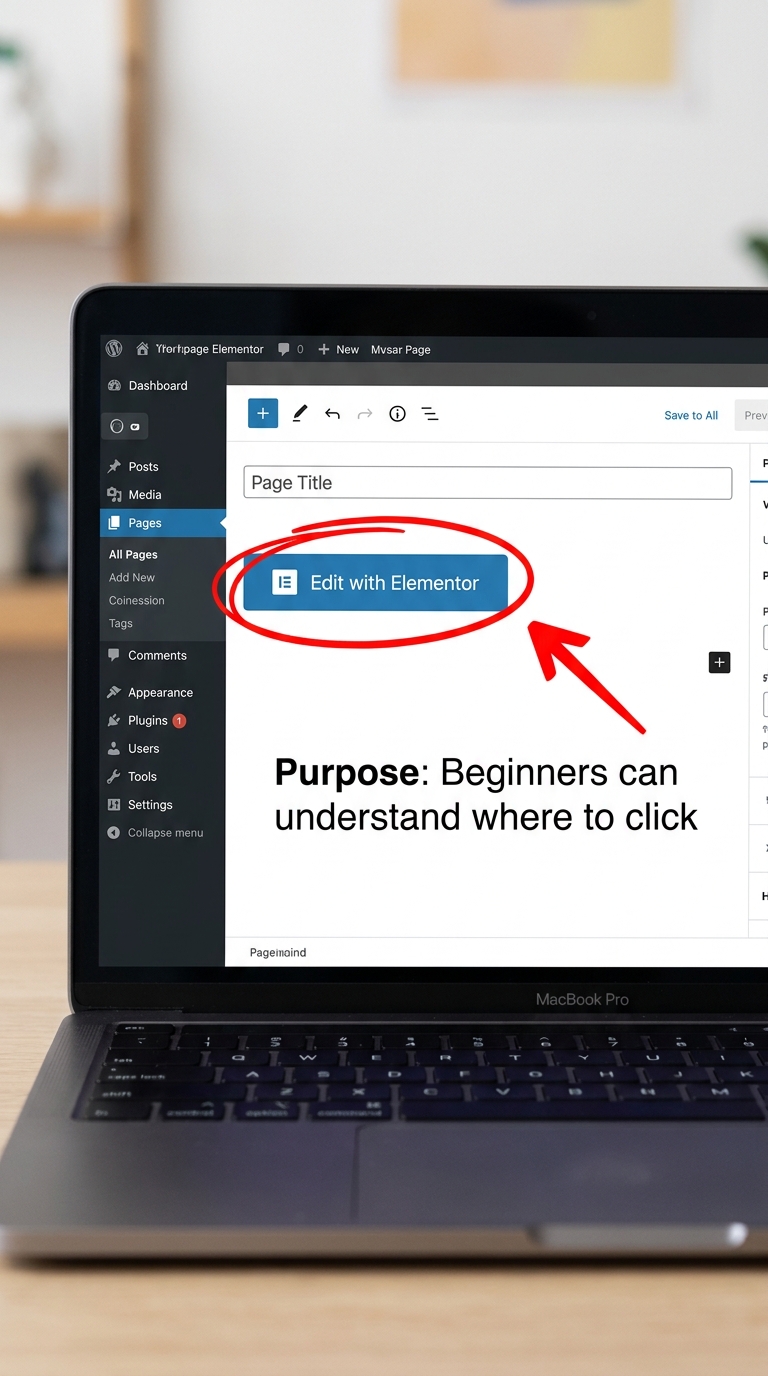
🟢 Step 1: Elementor Editor Open Karo
WordPress dashboard me login karo
Us page ko open karo jahan button add karna hai
“Edit with Elementor” par click karo
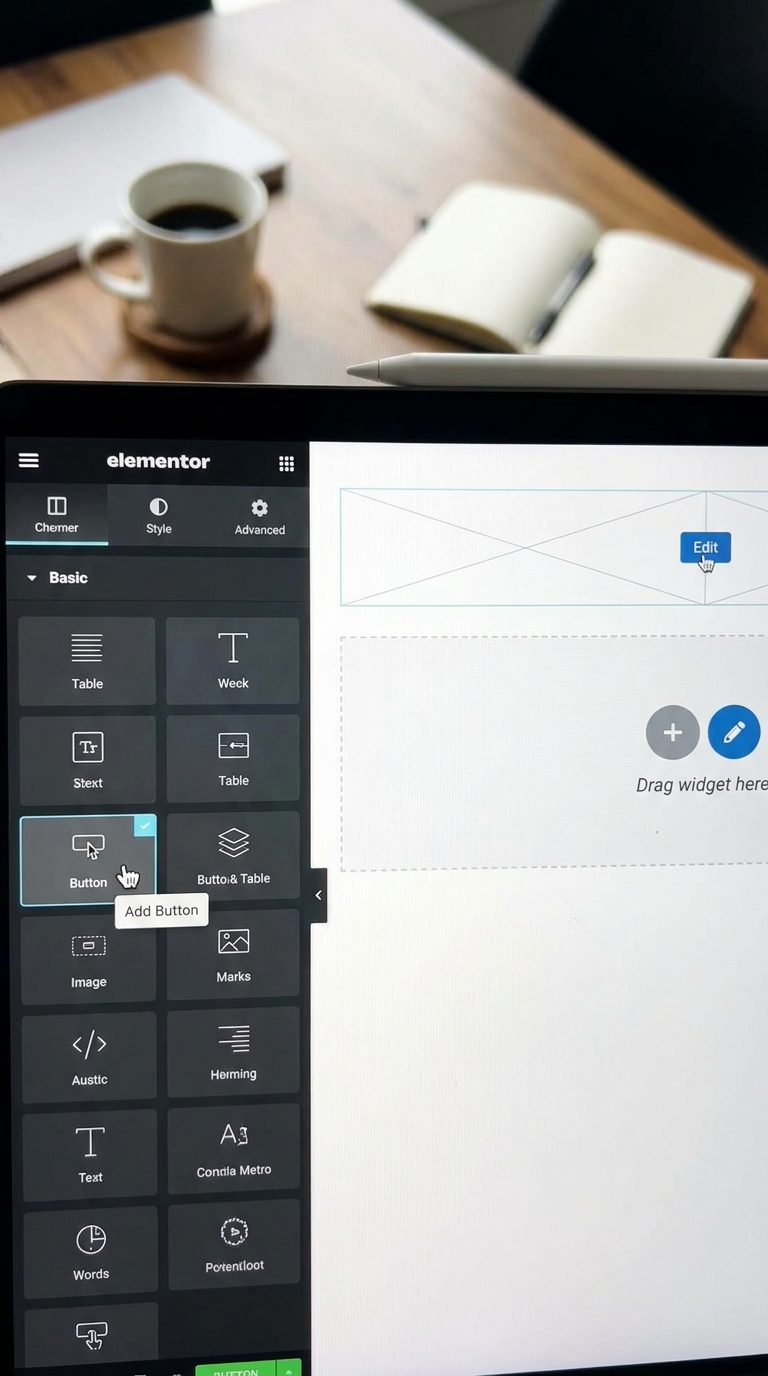
🟢 Step 2: Button Widget Add Karo
Left side panel me search karo “Button”
Button widget ko drag karke page par drop karo
Ab ek default button appear hoga
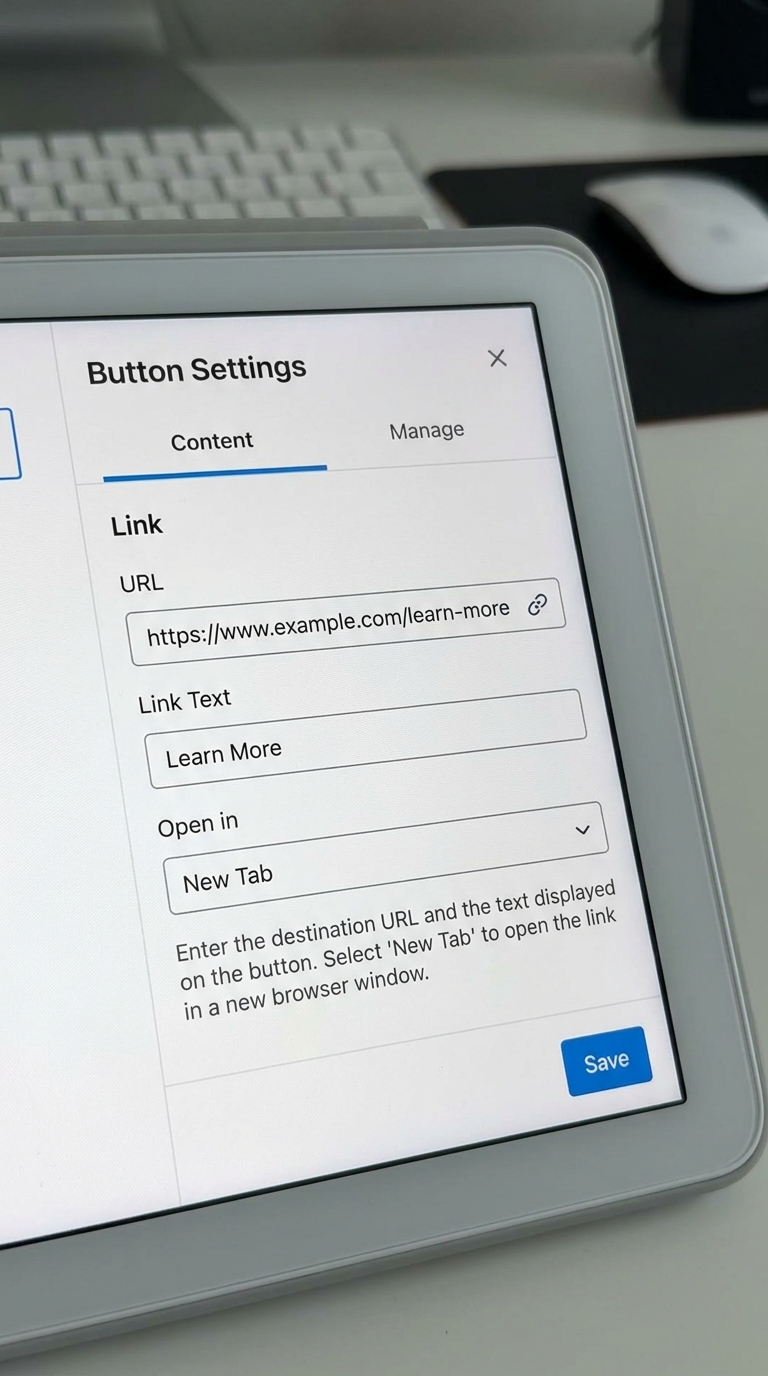
🟢 Step 3: Button Text Aur Link Set Karo
Button text change karo (Example: “Click Here”, “Buy Now”)
Link field me URL add karo (jahan redirect karwana hai)
👉 Example:
Contact page link
WhatsApp link
Product page link
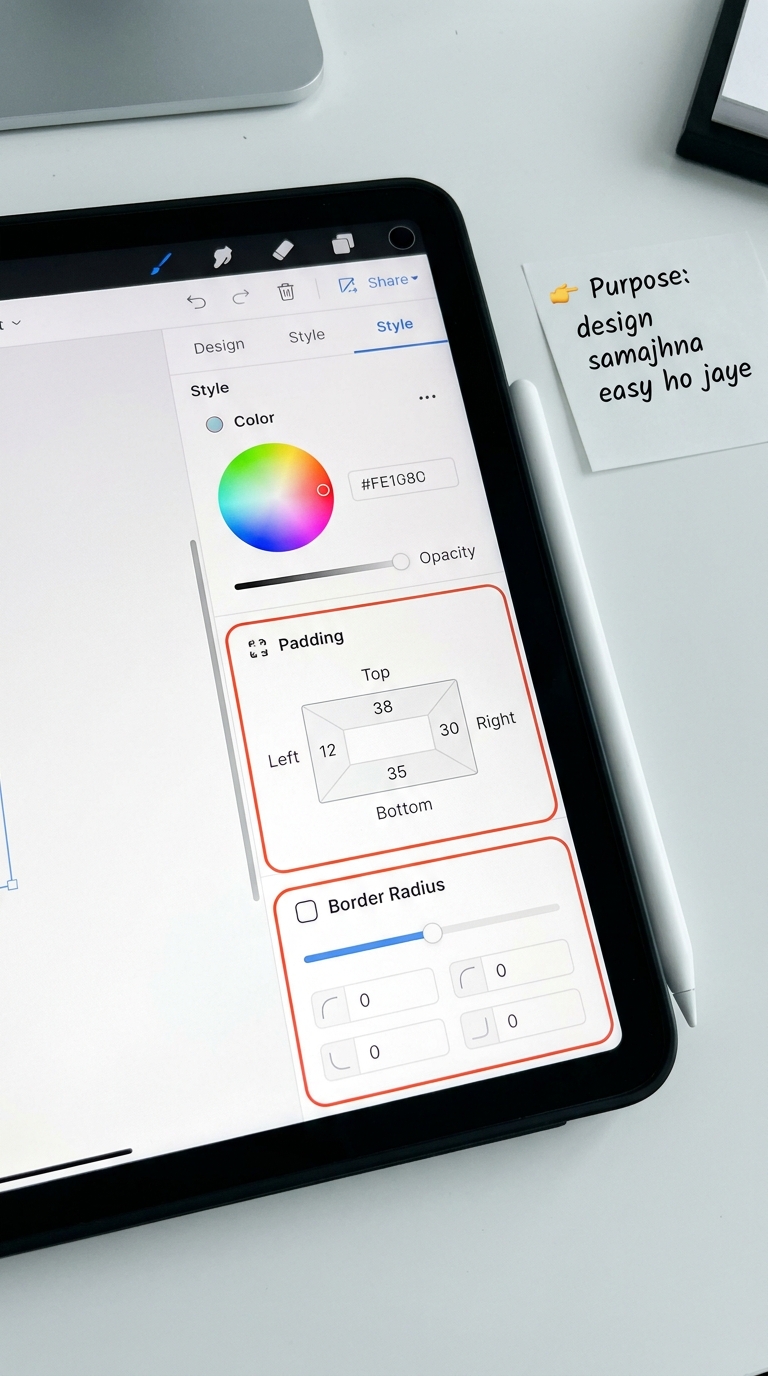
🟢 Step 4: Button Design Customize Karo
Ab button ko attractive banane ke liye:
🎨 Style tab me jao:
Text color change karo
Background color set karo
Border radius increase karo (rounded look ke liye)
Padding adjust karo
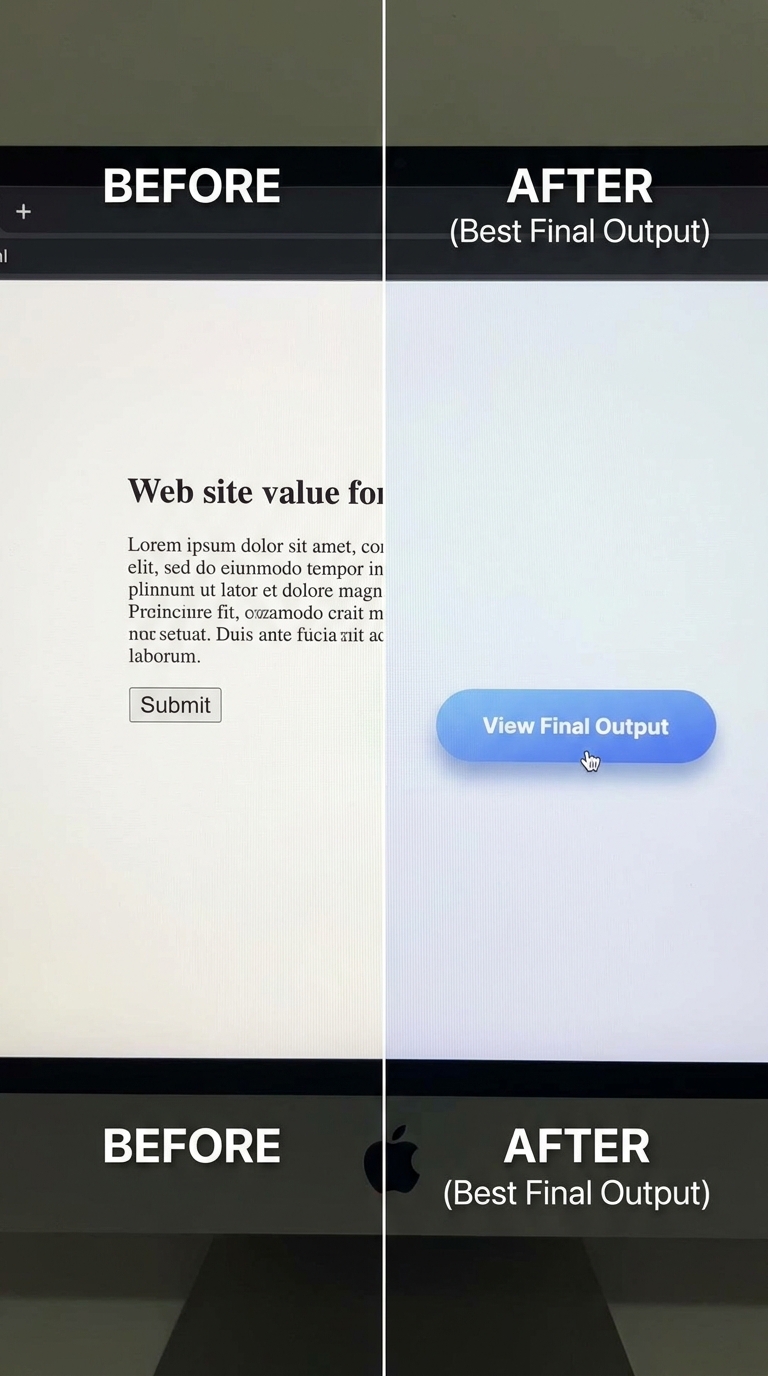
Elementor Button Live Demo:-
🟢 Step 5: Typography Set Karo
Font size adjust karo
Font weight bold karo
Font style clean rakho (modern look ke liye)
🟢 Step 6: Hover Effect Add Karo
“Hover” tab open karo
Color change karo hover state me
Thoda animation effect add karo (optional)
👉 Isse button professional lagta hai
🧠 Final Result
Ab aapka Elementor button ready hai:
Clickable
Styled
Mobile friendly
Professional look
🔗 Next Blog me 👉” Make Button Clickable in Elementor” kaise hota hai uspar discuss karenge